

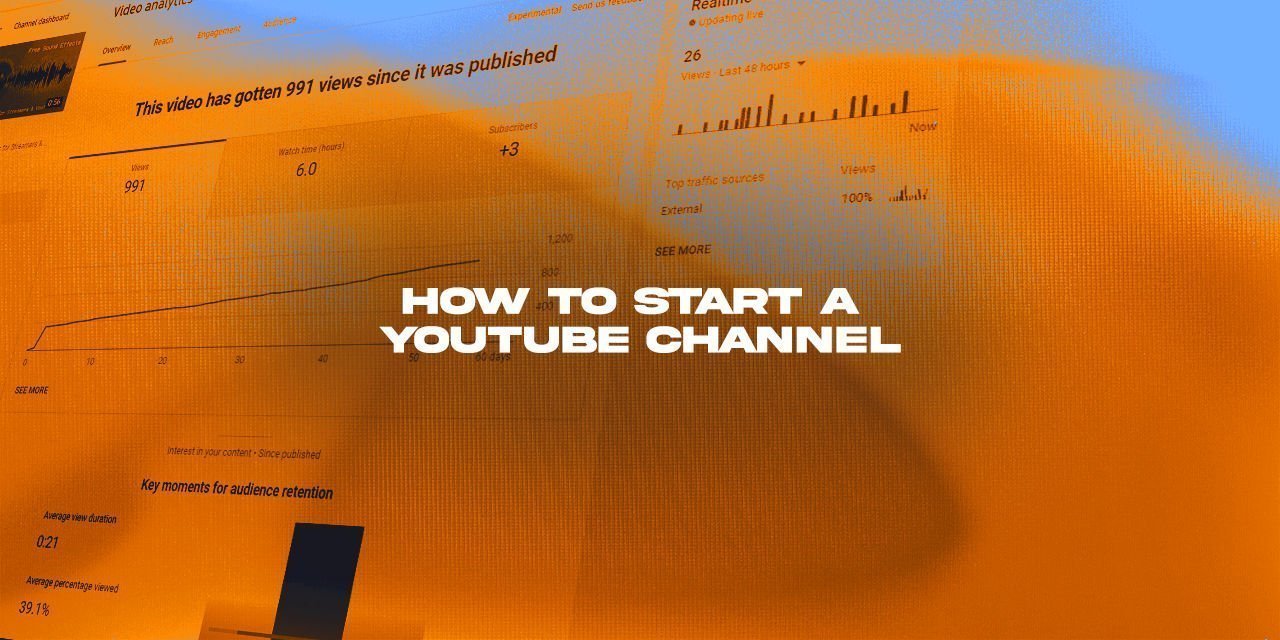
Hey there, and welcome to Streamers Haven, the place to learn about live streaming and content creation as a whole. In this article, I go over what you will need to actually start a YouTube Channel. It may come as a surprise to you, but you don’t need all that much to begin your journey, and right now is quite possibly the best time to start your YouTube journey.
The reason for this is YouTube Shorts – Short-form content aimed at competing with the likes of TikTok and Instagram. After all, short-form content is something that can quickly and easily be put together and gives you a lot of practice in editing. The idea of this particular form of content creation is to maximize your watch time, aiming to be at around 70% or higher “average percentage watched” for the entire duration. Couple this knowledge with a solid content creation strategy, and you’re off to growing your channel!
Let’s start off with how to actually create the channel.
Table of Contents
How to Create a YouTube Channel
The very first step into your career/hobby as a YouTuber is to create the channel. How you actually do this can be pretty unintuitive, so I wanted to break it down, and include links to make it a bit easier for you.
- Set up a New Google Account (skip if you already have one you use to comment on YouTube and the like)
- Go to the YouTube Channels page, and create a new Brand Account. You want to use a brand account for your channel so that you can prevent users from getting access to your name and address. This is a safety measure to fight against potential Doxxing. Besides, it will create a new YouTube browsing history for the Brand Channel, allowing you to be recommended videos within your content niche that you look up, and not clutter your personal list.
- That’s it!
A quick bit of advice – Don’t get hung up on the name or logo.
I will admit that a name that will represent your brand is important, but I see so many people struggling with coming up with a name to the point that they give up before they even create a channel. Honestly, just use one of the first things that come to your mind that will relate – in a general sense – to what kind of content you will create. Push comes to shove, you can change the name of the channel, though any plaques you earn will still have the old name. I’ll go into more detail later, but I needed to say this now because most people tend to get anxious thinking about what to name their channels.
The Titles and Thumbnails are important
YouTube has two ways to really catch somebody’s attention on a video – The title, and the Thumbnail. The Title is important for the YouTube Algorithm to understand what content your video will contain. It is what sorts a video in front of somebody’s eyes, but the thumbnail will seal the deal.
Here is a post that goes into what you need to know about the ideal YouTube Thumbnail size.
You’ll also want to check out this post about a tool that I use to create screenshots, which can be used to get your Thumbnail most of the way there.
Regarding the title, Well that subject is covered in my 3 day content strategy article, as it has to do with SEO techniques that are covered well in that article.
The basic equipment you’ll Need to Start making content
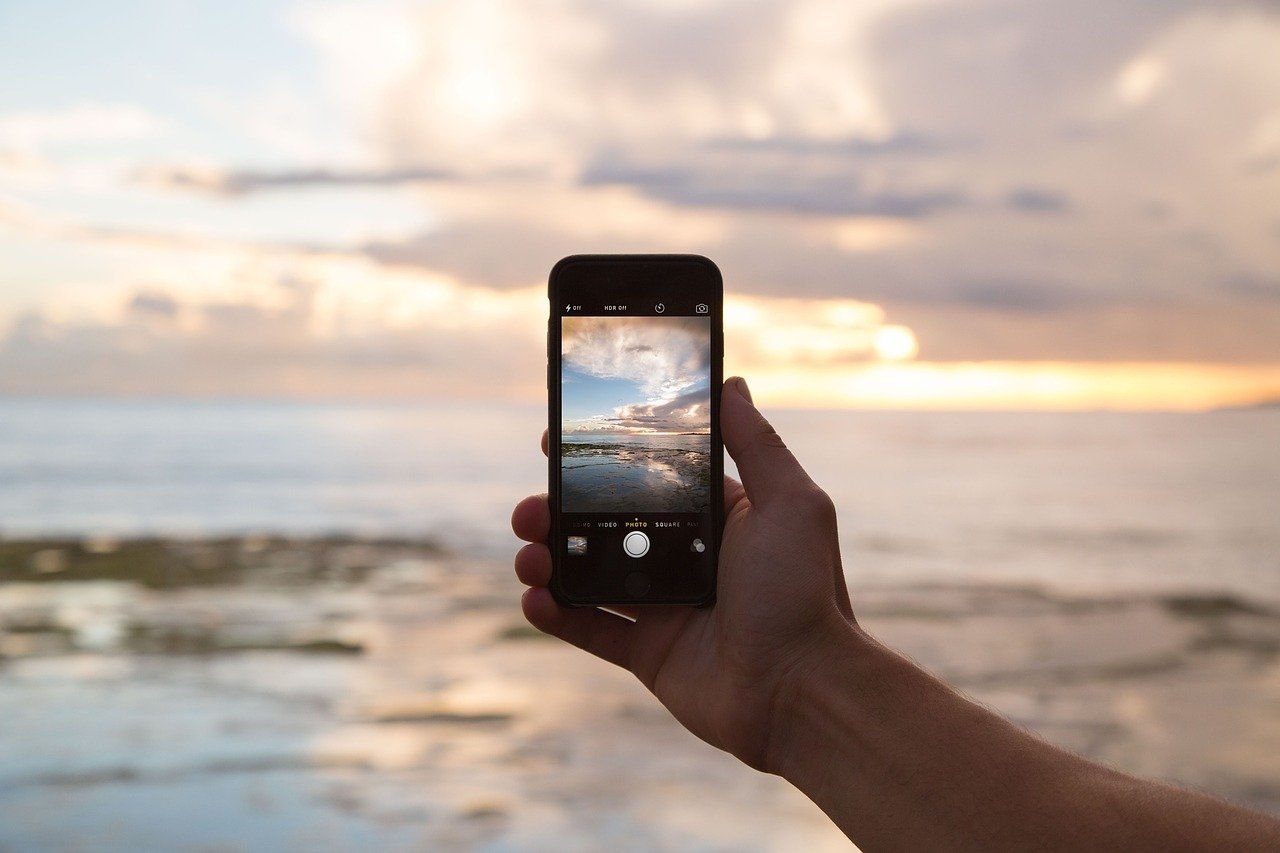
Creating content for YouTube is probably easier than it has ever been here in 2021. This is because most individuals looking to make a channel typically already have everything they’d need – A smartphone with the ability to record videos. At the very basics, this is the only thing necessary to start a youtube channel for beginners, as you can actually directly upload from a smartphone to YouTube.
Regarding editing; it can be done using apps like KineMaster, Magisto, and Adobe Premier Rush, though I strongly suggest utilizing, at the very least, a laptop running Davinci Resolve. Editing on a phone can be pretty frustrating…
- My thumb sometimes taps further into the clip than I intend when trying to make cuts
- The tiny screen means that some stuff is shrunken down pretty small
- Accessing B-roll can be a right pain in the rump due to the small screen size
- A lack of multiple monitors reduces workflow efficiency
- No shortcuts to quickly use commonly utilized tools.
- Honestly, the list keeps going. Editing on a phone is not a pleasant experience.
Recording Tips with a Smartphone to get the most out of it
For those of you who want to get a little bit more out of your phone’s camera in terms of video quality:
- Record during the daytime utilizing natural sunlight as your main key light.
- Providing ample light for the sensor will give it more data points to work with, meaning it will have to process the image less.
- This results in less grainy artifacts.
- Sunlight is the best possible light source that you can use for color accuracy and temperature.
- It is the de-facto standard that high-quality artificial lights aim to recreate.
- Oh, and it’s free to use, assuming you don’t live in Antarctica during winter when it’s 24 hours of twilight 6 months or the north pole for the same reason.
The result of using natural sunlight is that the image becomes less grainy and more defined.
Also, recording in a higher resolution – say 4k 30 fps – and down-sampling to 1080p 30 fps will actually result in an even clearer image, due to the way that the higher pixel count has smaller grains, especially when downsampled.
Regarding audio, purchasing a cheap lavalier microphone can go a long way to getting a clearer source of audio. Phone microphones aren’t bad, but to utilize the camera effectively, you need to be somewhat far from the device, which is the exact opposite of what you need for good audio. A lavalier, or lapel as they are also known, can be easily hidden under clothes, and be significantly closer to you than the phone itself, solving both problems.
The Best times to record using natural sunlight
| Time | US – North-East (January) |
|---|---|
| 12:00 AM – 6:00 AM | Dark |
| 7:00 AM | Golden Hour 1 |
| 8:00 AM | Great |
| 9:00 AM – 10:00 AM | Good |
| 11:00 AM | Okay |
| 12:00 PM | Poor – With exceptions |
| 1:00 PM – 2:00 PM | Good |
| 3:00 PM | Great |
| 4:00 PM | Golden Hour 2 |
| 5:00 PM – 11:00 PM | Dark |
When you record using the power of the sun as your light source, you’ll want to be aware that the time of day that you record matters. For example, if you live very far north, such as the upper peninsula of Michigan, it can be daylight until 10pm during the summer. However, during the winter, you have a mere 8.5 to 9 hours of daylight. It becomes dark at around 3:30 PM. When this time is for you will vary based on where you live on earth, but typically, the worst time to record is High Noon. The reason? The shadows on your subject will cast at an unflattering angle, appearing droopy and unpleasing.
Of course, noon could work for you if the idea is to get a beach clip, when it is safe to do so. It all depends on the type of shot you are intending to record.
As for the “Best time to record”, that belongs to “Golden Hour”, as this is the time where the angle is such that lighting is very pleasing to the eye. Photographers utilize this time of day, sunrise and sunset, to their advantage to cast their photos in the most pleasing light possible.
Barring natural light, you have artificial light. Just please…don’t use your monitor as your main light source.
Handy Accessories for your Smartphone to Record Video
While a Smartphone is a great device capable of a great many things, its design isn’t exactly super friendly for the purpose of recording. For example, say you want to put the phone on your table and face you. Well, if your table is too low, then you need to MacGyver some sort of precarious Jenga mashup of random flat-ish items in your home to bring it to the height you need.
Then, there is the issue that the phone…can’t stand up by itself. It’s a thin, rectangular brick, essentially. There isn’t much surface area for it to free stand. So you add a random pillow to prop it up…only for it to simply flop over onto the table, ruining your take. Or create a blooper b-roll clip to add to your arsenal if you’re optimistic about the failed take, I suppose.
This is where a Tripod with a Smartphone attachment comes into play. This particular tripod is essentially a repurposed light stand design, which is great to reduce the total surface area of your setup. This design allows you to put the phone into pretty tight spots to give you greater control over your framing capability. It even comes with a Bluetooth remote, though I don’t know whether that button is recording or pictures only.
I don’t have a Smartphone. How can I start a YouTube channel?
If you don’t have a smartphone, then your next best bet would be something like this inexpensive action camera by Remali. Just be aware that you’ll also need access to a computer to do your editing on, as this thing does not have the ability to upload directly to YouTube. It is purpose-built, designed to take pictures and record video. In fact, it comes with a start video/take picture watch dongle with a rugged velcro strap, and three hot-swappable batteries so you can stay in the action for longer.
As a beginner, this option is plenty sufficient to get you going if you don’t have access to a smartphone. You don’t need the best of the best – You need to develop the skills needed to create great content before investing in something like the Sony Alpha A7Siii. The equipment won’t make the channel succeed – That job falls to you as the brain behind the channel.

“I want to Record Game Content on a PC for YouTube”
If you’re looking to join the Gaming niche of YouTube content, then a smartphone is only needed if you plan to utilize it as a face camera, utilized in a scene within obs. The bare essentials are really only a PC powerful enough to run the game you want to record, and software to record it. If you want to optimize the settings for recording Youtube content, I recommend that you check out this guide.
The term for the “face camera setup” is “Picture-in-Picture”, where two video sources are overlapping each other, but one, less important source, is substantially reduced in size. This is very typical of a live streaming setup, but it is utilized by countless YouTubers, including Markiplier, and Jacksepticeye.
Handy YouTube Channels to help you get started
Ironically, there are a lot of YouTube Channels on the platform whose audience is other YouTubers looking to get started. Many of them will try and sell you into buying a ton of fancy equipment that you have no idea how to use, and then not really explain how to use them. I’m not going to be recommending that you watch their channels, as my goal is not to sell you a product you don’t actually need, or lack the experience to use well.
No, my goal is to allow you to work towards becoming a content creator who can build a channel without relying on a technology crutch any more than necessary – to make truly interesting content that people enjoy watching. This is why I recommended that you start with a smartphone, to utilize a resource you more than likely already have (given that you are reading this article, you either have a phone, tablet, or desktop… My odds are pretty good that you do have one.)
So I recommend that you check these channels out. I have learned a great deal from these channels myself, and put some of their tips and advice into action, testing them personally.
- EposVox, the “Stream Professor” – For General Live Streaming tips & guides to boost production value
- Podcastage – Excellent audio advice and microphone testing videos
- BoothJunkie – A Voice actor with a ton of advice regarding audio and speaking into a microphone
- Channel Makers – There are a number of videos on here that teach important concepts about being a YouTuber
- Income School – A channel focused on providing ways to monetize your content effectively
There are a lot of great creators out there that started right where you are right now. The only thing stopping you from joining them is not creating anything, so get out there and create something great!