

Monitoring your chat on Twitch is very important to build an audience. After all, people who are watching live streams are there to have a unique experience of direct interaction with the people running the show. To a viewer, it’s like being a part of the content.
So, when I learned that you can now embed your chat within the OBS interface, I immediately had to write an article detailing the process to add Twitch Chat to OBS Studio.
Table of Contents
Why Having Twitch Chat in OBS is Such a Big Deal
For a long time, I had to open my stream in my browser on another monitor to watch chat while live. This is fine and dandy, but I also had the OBS window open to be able to swap scenes on my third monitor, and my main content, a video game, took up my main monitor. Unfortunately, having three monitors is a luxury that not many people can afford to enjoy. As is, I only managed it by buying them years apart, resulting in a Frankenstein monstrosity of mismatched displays of varying sizes and resolutions.
And don’t even get me started on color consistency across displays. That is one less monitor you need to buy for the same amount of information on screen, which can only be considered a win for Twitch Streamers.
Method 1: The Easy Way to Add Twitch Chat to OBS Studio

The easiest and my personal favorite way to add Twitch chat to OBS is by logging in to your Twitch Account within OBS Studio. To do this:
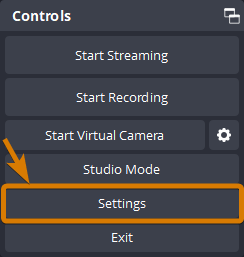
- Left-Click on the Settings button in the Controls dock in OBS
- Go into the Stream Tab in the left navigation bar in the new window

- Select Connect Account (recommended) after selecting the Twitch Service

- Enter your Twitch Login information into the new window that appears
- Input the Authenticator code
- Select Authorize in the following window
Once this is complete, or if you are already logged in using this method, you simply need to:
- Left-Click on Docks within the top navigation menu
- Left-Click on Chat
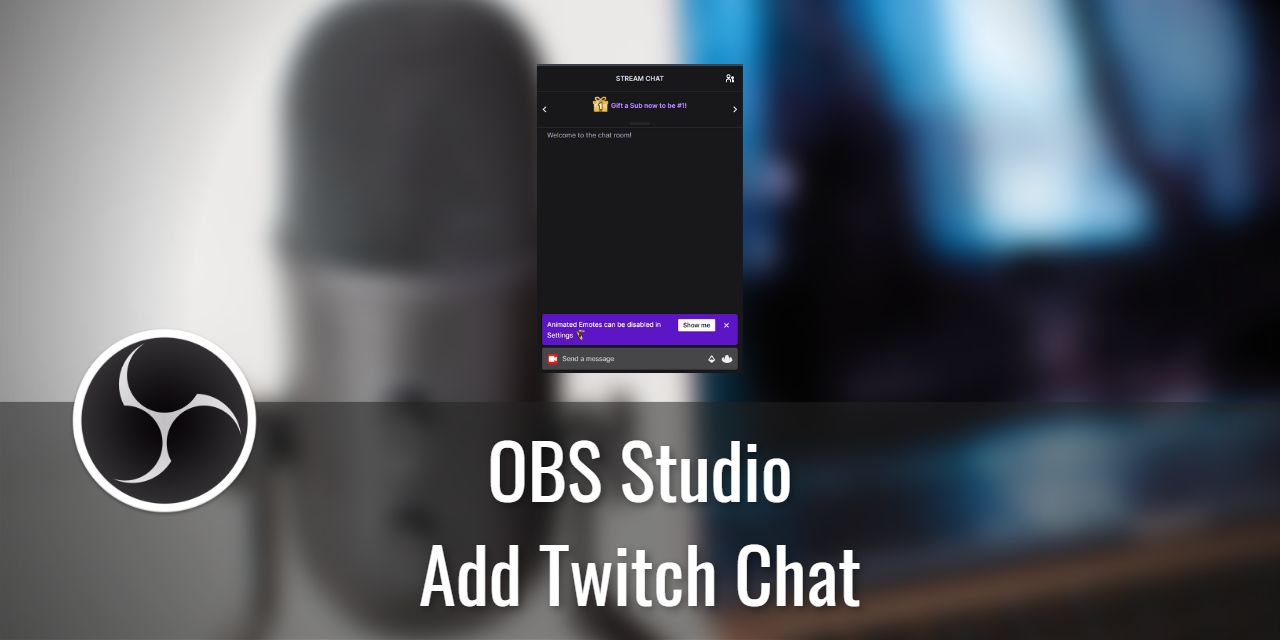
Now, the Twitch Chat is visible within the OBS Studio software itself – No need to go to your Twitch channel URL. You can leave it as a free-floating window or dock it to one of the anchor points around by dragging the window around until you see a highlighted area appear.
Method 2: The Stream Key-Friendly Way to Add Twitch Chat to OBS Studio
If you prefer to use the Stream Key method of streaming or don’t like the idea of using your login information within OBS Studio, you can still add Twitch Chat to OBS using the Custom Browser Docks Feature. To do this:
- Go to your Twitch Channel page in your preferred browser.
Example:
https://www.twitch.tv/monodexsh- Left-Click on the Chat with the Arrow icon if you aren’t live
- Left-Click on the Settings cog located at the bottom right of the chat

- Select Popout Chat within the Chat Settings Dialogue box

- Copy the URL

- Open OBS Studio
- Select Docks within the top menu

- Choose Custom Browser Docks

- Under the Dock Name section, Set “Twitch Chat” minus the quotes
- It can be named anything you want, really.
- Paste the URL you copied from step 5 into the URL section
- Click Apply

As you can see, this method is a little more involved than the first method, but it does not need to log into your Twitch Account within OBS Studio. Additionally, as you can input any URL you like into the dock, you can effectively dock anything that you can navigate to using a browser. This includes random website URLs and local files.
Method 3: Twitch Chat Overlay
The final method to display your Twitch chat using OBS Studio is to embed it as an overlay within the stream itself. This allows you to show chat to your audience, who is watching in fullscreen mode or maybe on a YouTube video later on, without losing context. Here’s How to add Twitch Chat to OBS as an Overlay Source:
- Follow the Stream key-friendly method listed above until Step 5
- Add a new Browser source, name it Twitch Chat Overlay
- Paste the URL into the browser source URL
- I recommend that you set the width to 500 and the height to 800 or 300×600 if you want it smaller.
- Don’t resize the source using the OBS resize handles. That will make the text hard to read.
- Add a small crop to the bottom to hide the Message input area (See my guide on cropping to learn how to do this)
- Right-click the newly created browser source within the sources list, and select Interact
- Dismiss any popup Notifications to clean up the chat display
Bonus Method: The VR-Friendly Way to See Twitch Chat
Technically, this isn’t being done using OBS Studio, as the VR experience doesn’t use the traditional window-based hierarchy to navigate through stuff. Technically, you can do a desktop overlay within VR, but that experience isn’t as useful as it could be. As such, this is a Bonus method, allowing you to see Twitch chat while you are in a VR-based program.
A better method is to use Liv. I wrote an article about how to set up and use Liv a while back that can help you get started. I try to keep everything up to date, but as the site grows, it becomes harder to maintain the most up-to-date information, and I sometimes fall behind. If this is the case for you, I recommend joining the Liv Community discord server if you need additional guidance. This server contains a wealth of knowledge about the program and is the best resource for you in this situation.