

Note: This method of background removal requires the Pro version of Canva. Get a Free 30 Day Trial of Canva Pro.
Looking to remove the background of your photos and make some thumbnails for YouTube or whatever else you plan to do? Well, using a feature available in the pro version of Canva, this process is incredibly easy.
Never heard of Canva? Here is a quick summary of the program:
Table of Contents
What is Canva?

Canva is a feature-rich graphic and media design platform that is incredibly easy to use. It is an excellent tool for making YouTube thumbnails, social media gifs, PDFs, and much more.
Pros:
- It is extremely easy to use
- No extensive graphic design knowledge is needed
- It has a fast creation process
- It stores your creations in a cloud server, accessible from any device with a browser and login credentials.
- Teams feature – Work on an image with a team of designers
- A reasonably priced premium subscription model
Cons:
- Not capable of certain effects that are possible in dedicated image manipulation programs like Photoshop or GIMP
- Requires an internet connection to use
- Images on the free version are not safe for commercial use (unless specified)
- It takes a lot of extra time to check each image you use
Need a Crash Course in Canva?

If you are new to Canva, then I recommend that you check out this article before you begin this tutorial. This article will teach you everything you need to know about getting started with Canva. Once you’ve finished, you may resume this tutorial at your leisure.
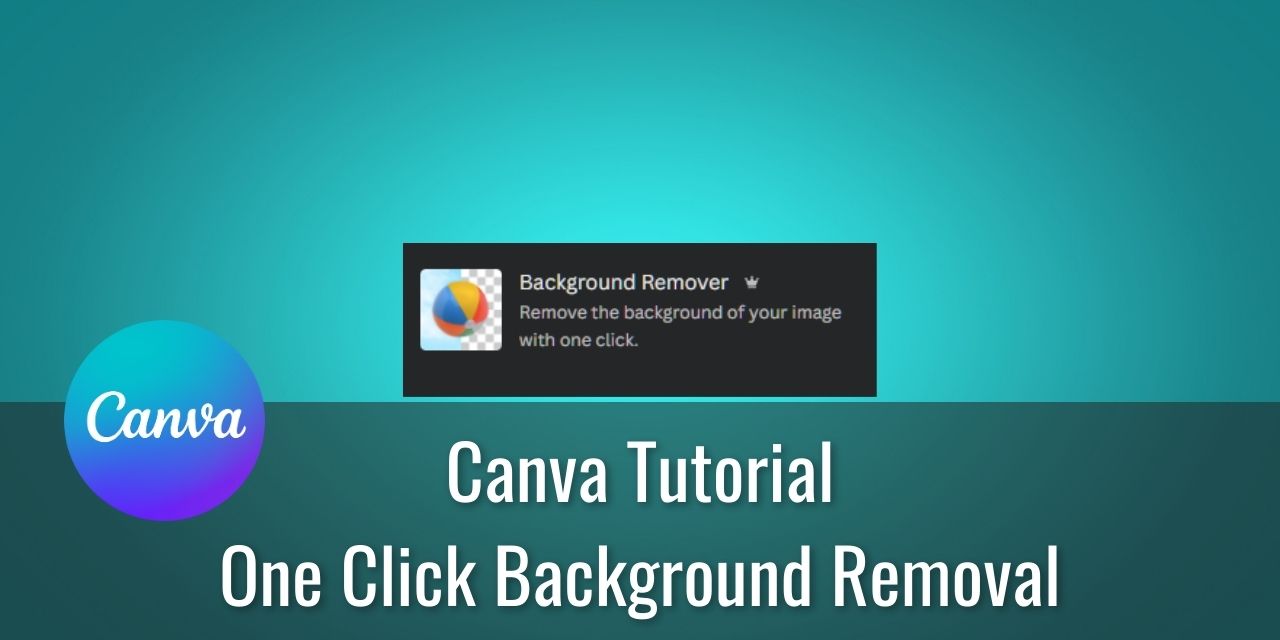
Using the Canva Background Remover Tool To Remove the Background from Photos
To use Canva’s background remover tool, all you need to do is:
- Open an image in Canva

- Left Click Edit Image in the top toolbar

- Left Click BG Remover or Background Remover (The Crown Denotes a Pro-only feature)

And that’s it!
You should see something like this, which will obviously require a bit of fine-tuning to become presentable:

Fine-tuning Your Background Removal With the Eraser And Restore Tools
Now, the background remover tool in Canva is fairly good by itself, but it sometimes makes mistakes for images that aren’t clearly defined from the background (See the above example). In this case, you’ll need to give it a helping hand using the eraser and restore tools.
When you do the background remover process on the image, you’ll automatically be brought to the window that allows you access to these tools. Before you begin, though, I have a bit of advice to offer you based on my personal experience:
Monodex
- Go Slow! Taking your time with the eraser tool will save you from needing to swap to the restore tool as often, saving you time in the long run.
- Zoom in as far as you can – It makes going slowly easier, and you can see the edges a little better.
- Having an original image with very well-defined edges from the foreground and background makes the automatic removal part much more effective, again saving you time
- If you mess up, Ctrl-Z is your friend.
Saving And Exporting your Edited Photo in Canva
As you make changes to a design, they are automatically saved. I’m not sure quite how often these saves are done, but suffice it to say I have never lost any work on a Canva Design from a lack of saving. This is one reason that the program requires an internet connection at all times.
If for some reason, you lose access to the internet while editing an image, you’ll see this message:

Don’t panic if you do see this message, just pause your work and wait until it comes back, or try restarting your modem/router.
To export your edited photo:
- Click the Share button located at the top right of the application

- Select Download

- Select your File Type
- The options will differ based on the file type you select.
- Adjust the settings to fit your needs.

- If it’s multiple pages long, select the pages that you want to download (I like using “Current Page”)

- Select Done
- Saving the download settings can be helpful for templates – In this case, make sure it is ticked

- Left-Click the Download button
- Select a Download Location, and you’re done!
If you need to edit the image for an iteration, you can duplicate the page and make changes. Just make sure that when you download the image, the correct page is being downloaded. (See step 4)