

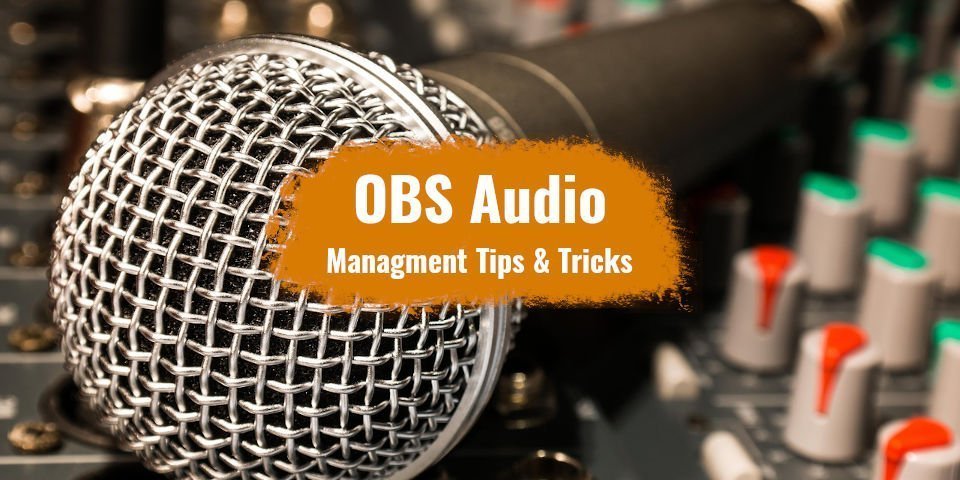
In this article, I will explain the ins and outs of OBS audio management at a level that most do not even know as possible. Using this method, you will be able to listen to music on Twitch without it going to stream. A a bonus, it can also be processed by a VST filter, and even control what audio sources are utilized in separate scenes.
If you’re anything like me, this will have you giddy in your seat in anticipation. I’m always looking for ways to get the most out of my tools, and anything that increases my control over them is a welcome addition. The best part about this is that you do not need anything else other than OBS Studio or Streamlabs OBS itself and Windows 10 1903 or later.
Before you get too excited, I will note that this method of managing your audio using OBS does come with some inherent drawbacks. I will do my best to explain how these drawbacks will affect you, but it honestly isn’t all that bad for what you get out of the end result.
Table of Contents
The Trick in OBS Studio to Listen to Music on Twitch
The first step to this process is kind of counter-intuitive. You’ll need to disable the audio sources inside of the settings window completely. This isn’t exactly required, but doing so will give you a very high level of control over what audio sources appear in various scenes in your workflow.
If you aren’t sure how to do that, then I wrote a short tutorial on how to do this.
How to Disable the Global Audio Sources in Obs Studio

Disabling your global audio devices is an easy three-step process.
- Click settings
- Click the Audio tab
- Set all devices to “Disabled”
Why I recommend this:
In OBS, we have what is known as a Scene and Source manager. A scene is essentially a “template of sources”, which is used to create different preset layouts for your content. These can be a live stream, YouTube Video, or other forms of media content creation. These pre-defined templates serve to allow what sources show up where…including your audio sources!
A scene is essentially a “template of sources”, which is used to create different preset layouts for your content.
There are two special sources available to you that, at first glance, most won’t even think twice about. However, it is these sources that are the lynchpin to make this whole thing work.
These sources are the audio input capture and audio output capture sources. Adding these instead of utilizing the global sources is what will give you an insane amount of control over what audio sources appear in various scenes.
This feature is exceptionally powerful and gives you a new level of control over your scenes. But we first need to create the scene we will be adding.
Next: Create an Audio Device Scene for commonly used sources
For this next part, I want you to create a dedicated scene that will carry all of your commonly used audio sources.
Let’s name it “Common Audio Devices”.

Within this scene, you will be adding four separate sources, with one of them being an Audio input Capture source. The remaining sources will all be Audio Output Capture sources.
- Your Microphone Source as the only Audio Input Device. Be sure to select the correct microphone if you have multiple sources available.
- Game Sounds, Which should be set as your System Default Device, which needs to be set to something that isn’t your headphones.
- Discord, if you use it and want greater control over how they sound
- Music, if you plan to include music in your stream
Ensure that each of these sources have a unique audio device assigned to them.

Of course, you don’t need to include all of these sources, I simply mentioned the ones in use by most streamers. Additionally, separating these devices out into their own sources gives you individual control over each of them. This allows you to implement VST EQ on each of these sources individually.
Don’t Have Enough Sources Available?
In most cases, you actually won’t have enough outputs to latch onto, unless you happened to opt for a nice mixer, or other edge case scenarios that I’ll be covering in just a second. In this situation, there are actually a few tools out there that can help with this.
Before you install them though, check to see if your monitor or monitors have speakers. If they do, you can latch on to them, and physically mute these devices using the physical volume control buttons on them. Still don’t have enough? You will need to download Virtual Audio Cable and/or Virtual Hi-fi Cable.
If you still don’t have enough to use still, send an email over to me, or join the Streamer’s Haven community discord and I’ll give you a few more pointers for virtual sources.
Just be aware that the Hi-Fi cable needs to be set to 44.1KHz or 48KHz, because that is what OBS supports. The one you choose will be based on what you set in OBS. Since we’re on the subject…What is “Sample Rate”?
Sample Rate in a Nutshell
The Sample rate you choose will be the “Lowest common denominator”. This will ultimately be different for everyone and based on the capabilities of your physical devices attached to your PC.
To figure the Sample Rate capabilities out:
- Open up the Control Panel by searching “Control panel” in the search bar within the taskbar on Windows 10.
- Click “Hardware and Sound”
- Under Sound, click “Manage Audio Devices”
- Right Click a Device in your “Playback Tab” and Select Properties
- Click the “Advanced” tab.
You should now see something similar to this:

That drop down will show all of the supported sample rates and bit depth of the device.
The trick here is to set every single device in this list to the same sample rate. If even a single device has a max of 44100, then ALL devices will need to match this, and adjusted in OBS to match as well. If you fail to match the sample rate, then you may experience audio desync among your sources in your stream, among other strange issues.
Adding the OBS Audio Scene to Other Scenes
No, that title isn’t a typo. This next step involves including your “Common Audio Devices” scene as a source within other scenes. (I challenge you to say that aloud ten times fast.)

You may have noticed when you were adding the audio sources to the Common Audio devices scene, but there is actually a “Scene Source” that you can choose. This is what we are going to be adding to most of our scenes.
Once you do, you will see something like this:

Click Ok, and repeat the process for every scene you want to include.
How to Actually Hear the Sources Now & The Drawbacks
You may have noticed that you can’t hear the OBS audio sources any longer. There is one final step to take, and that is to utilize the Advanced Audio properties monitoring feature.
There is only one serious drawback to using this feature, in that you have to deal with a higher latency of around ~500 ms from the sources that you monitor. This only applies when you yourself are listening to the source – your live stream will not be affected by this delay in any way.
Using that monitoring feature is what adds that latency to the signal, which again, isn’t a big deal for music sources. But for game audio, it can be super detrimental in games like CS: GO that relies on the audio being as low latency as possible to hear footsteps.
For me, the benefits of the level of control I get over my audio outweigh this little fact, and it is simple enough to quickly swap output sources to that of my headphones whenever I am gaming in those games that are heavily reliant on sound.
There are a number of benefits to not implementing your audio in the global audio sources. The first is that you gain individual control over each source, which can allow you to modify them as you see fit using filters. Secondly, you are able to implement scene-specific control over your audio. For example, If you had an AFK scene, you do not need to implement the common audio devices scene source. Merely include each source you want to include separately as an existing source.
Swap to the AFK scene, and your mic is muted. No additional input is necessary. No accidental “forgot to mute” situations.
A little bonus:
Using this Scene source technique, you can do the same for common overlay elements, such as alert boxes, tip jars, or whatever really. It can save you a ton of time from having to recreate the overlay again and again. I’ll be covering this particular use case in the future, so look forward to that.