

Trying to make the cutoff for a YouTube Short, or pad your video out a bit to push it over 10 minutes? Consider adjusting the playback speed of your video clips. Speeding up and slowing down the playback of your content is a great way to meet tight margins for platforms like Instagram, TikTok, YouTube Shorts, and more. What is more, it is easy to change clip speed in DaVinci Resolve 17.
In this article, I’ll be showing you how to change the playback speed, as well as explaining some benefits of doing this.
Table of Contents
When Should You Speed Up Video Content?
Let’s face it. Not all of your content will be at the same level of entertainment. There are times when a video just starts to drag, and your audience will pick up on those moments, and lose interest. Aside from outright removing that content, and losing your work, there is an alternative available – speeding the otherwise boring content up.
When coupled with that classic VCR tracking sound effect, it can actually become an attention-grabbing tool, rather than a weak point in your video. I see this technique used extremely often on gaming videos, as there are many points in large, open-world games that have less than attractive travel times. For example, World of Warcraft Flight paths. Shudders.
Rather than cut that content out, you can stylize it with some elevator music, or edit some epic motivational battle speech into it with some comedic moments, maybe some internal dialogue of the character you are playing. Or just speed up the clip by 300-600%, plop in some sound effect that makes it sound like something is speeding up, and go on your way to the next part.
When Should You Slow Down Video Content?
Ever hear of The Matrix? Well, slowing down content is an excellent way to:
- Create Suspense in a high action scene (AKA, The Matrix)
- Emphasize some moment
- Make yourself more understandable if you talk too fast (The Comments will tell you, usually.)
- A Small slowdown of your overall video can allow you to meet certain minimum time requirements (Instagram minimum 1 minute content for example)
- Also makes it easier to achieve 10 minute YouTube Videos if you are really close to 10 minutes, but don’t have enough content to quite make it there. (Extra Ad slot at 10 minutes when Monetization is enabled.)
There are more reasons to slow content down, but these are usually the causes. You just need to be careful to not overdo it, or your entire video could end up feeling way too slow, and your audience will disperse as fast as they come.
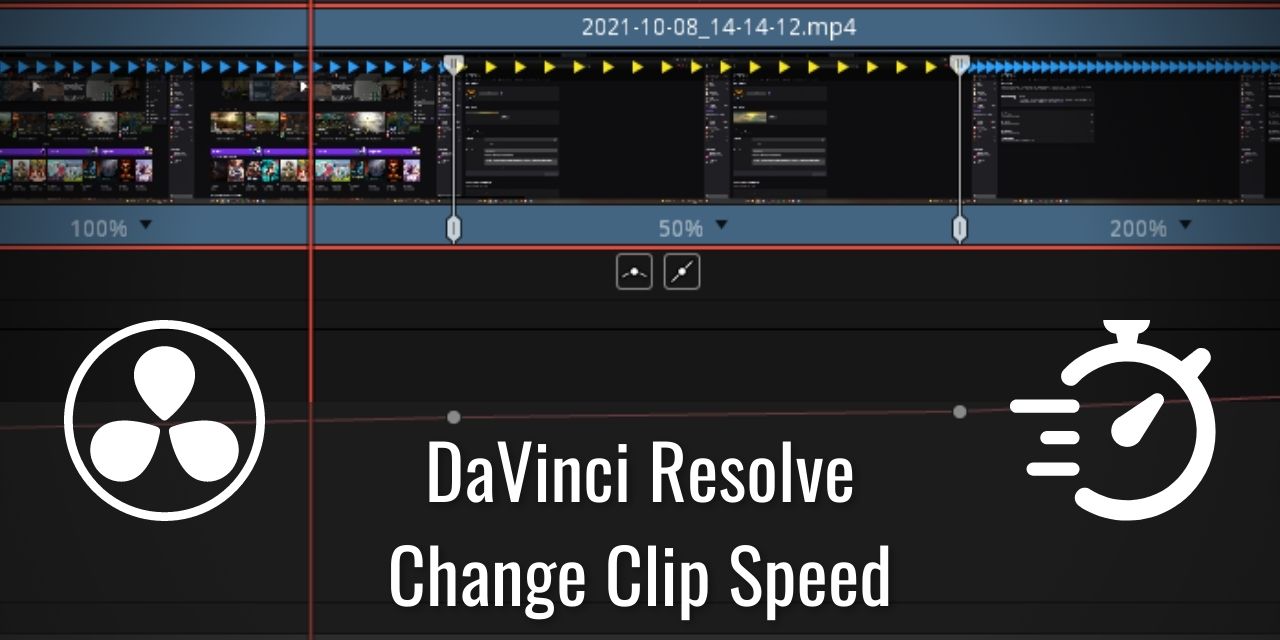
The Process – Change Clip Speed Easily
To speed up video –
- Ensure you are in Edit Mode
- Place a Clip on the timeline
- Right-Click the Clip
- Select “Change Clip Speed”
- Set the Value from 100% to something else –
- Higher than 100% will speed up the playback of the clip
- Lower than 100% will slow down the playback of the clip
- Set the Value from 100% to something else –


Advanced Speed Control – Speed Ramp Retiming

By default, the change clip speed feature is applied instantaneously. However, there are certain instances where you actually want a gradual shift in speed, including easing. This is known as Speed Ramping.
To accomplish this advanced way of adjusting the speed of a clip, you will need to do the following:
- Right-Click on the clip you want to apply this effect to, and select “Retime Controls”
- Move the Red Playhead to the part of the clip you want to start adjusting the speed of
- Left-Click the down arrow, and select “Add Speed Point”
- Now move the Red Playhead to the end of the clip segment you want to retime
- Repeat step 3
- Now, Left-click the down arrow of the isolated clip segement, and Hover over
- Select the speed you want it to be at

And now your clip speed is adjusted. To ease the ramping effect, so it isn’t so abrupt, you merely need to:
- Right-Click the clip
- Select “Retime Curve”
- Select the dots on the line, and click the curved dot icon for the retiming you want to ease
- Two new dots appear in this mode, which changes how much easing is applied
- Where these two dots are in the clip is when the easing starts to apply.
Prefer a video tutorial? Here is an excellent video tutorial on how to adjust video speed in DaVinci Resolve 17 if you’re having trouble following this guide.