How To Fix Out Of Sync Audio in DaVinci Resolve 17
Want to fix out of sync audio for your YouTube Videos? DaVinci Resolve 17 has the tools you need to do that, and more!


DaVinci Resolve is one of the most feature-rich video editing software solutions out there, even against its paid competitors. It is for this reason that I’ve begun to cover this tool extensively so that you are able to quickly get the hang of the workflow and start posting content to YouTube. Even the free version is leagues better than some paid alternatives.
Want to fix out of sync audio for your YouTube Videos? DaVinci Resolve 17 has the tools you need to do that, and more!
Want to add an audio-reactive clip in your YouTube Content? In this article, I teach you how with reactor, an Audio Visualizer in DaVinci Resolve 17.
DaVinci Resolve 17 makes it very easy to dynamically change clip speed of your content. Learn how to add this skill to your editing routine.
Not getting any audio in your DaVinci Resolve 17 recordings? Well, here is how you can fix having no audio playback for DaVinci Resolve 17.
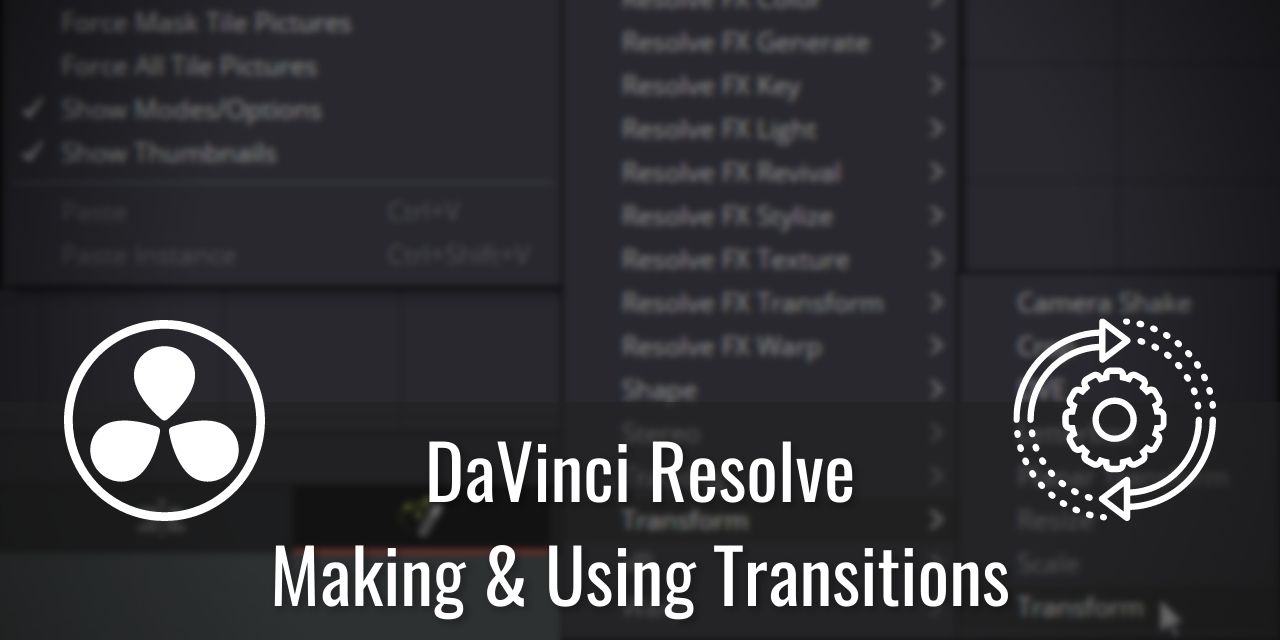
Transition effects are a staple part of all video media content. In this article, I’ll be teaching you how to add transitions, and even create your own.
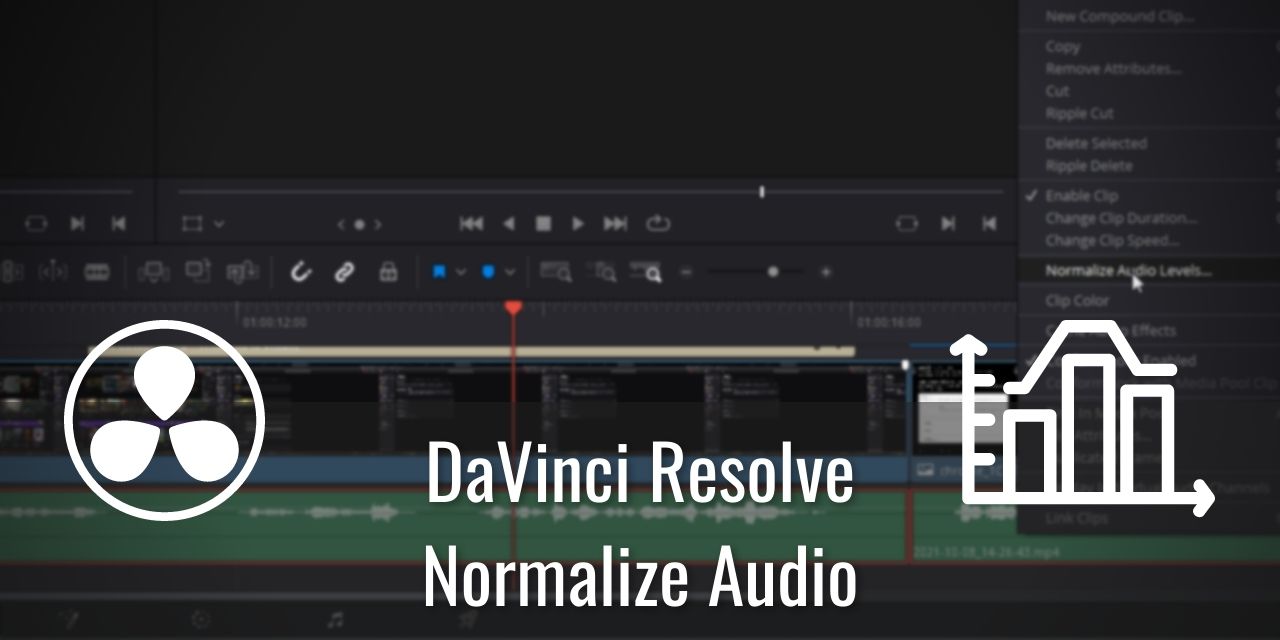
Learn how to normalize audio in DaVinci Resolve 17 to fix your audio levels across multiple recordings.

Learn how to add text to DaVinci Resolve 17. Additionally, learn how to add your own custom fonts and a basic fade in/out effect.
Learn how to Get Started using DaVinci Resolve 17 to create video content for YouTube and more!
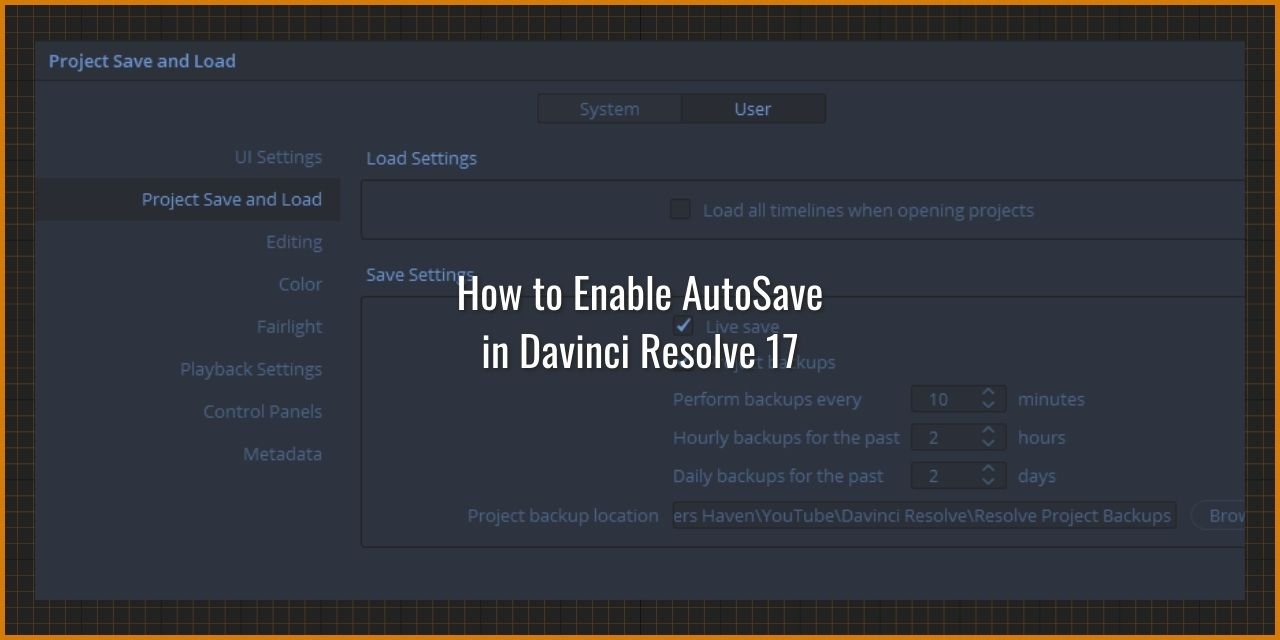
You can Enable Autosave in DaVinci Resolve by toggling the “Project Backups” feature on in your user preferences, under the Project Save and Load Tab.
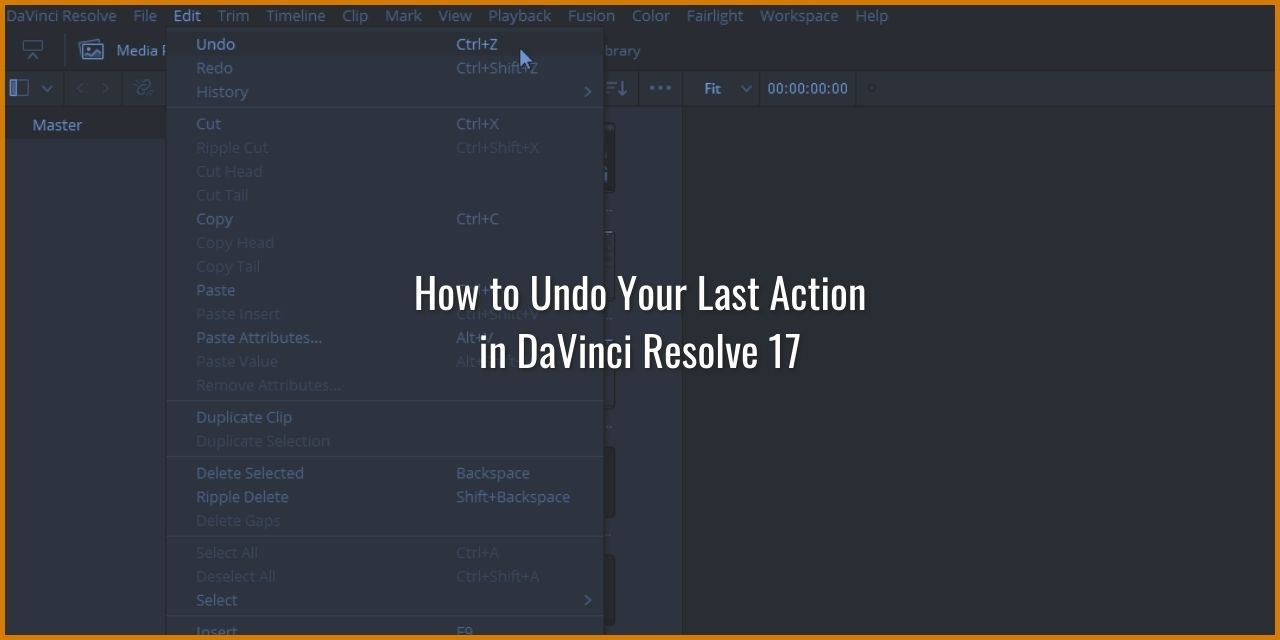
You can Undo your last action by using the CTRL+Z Shortcut. Alternatively, you can click on Edit, and select the undo option in the list.